
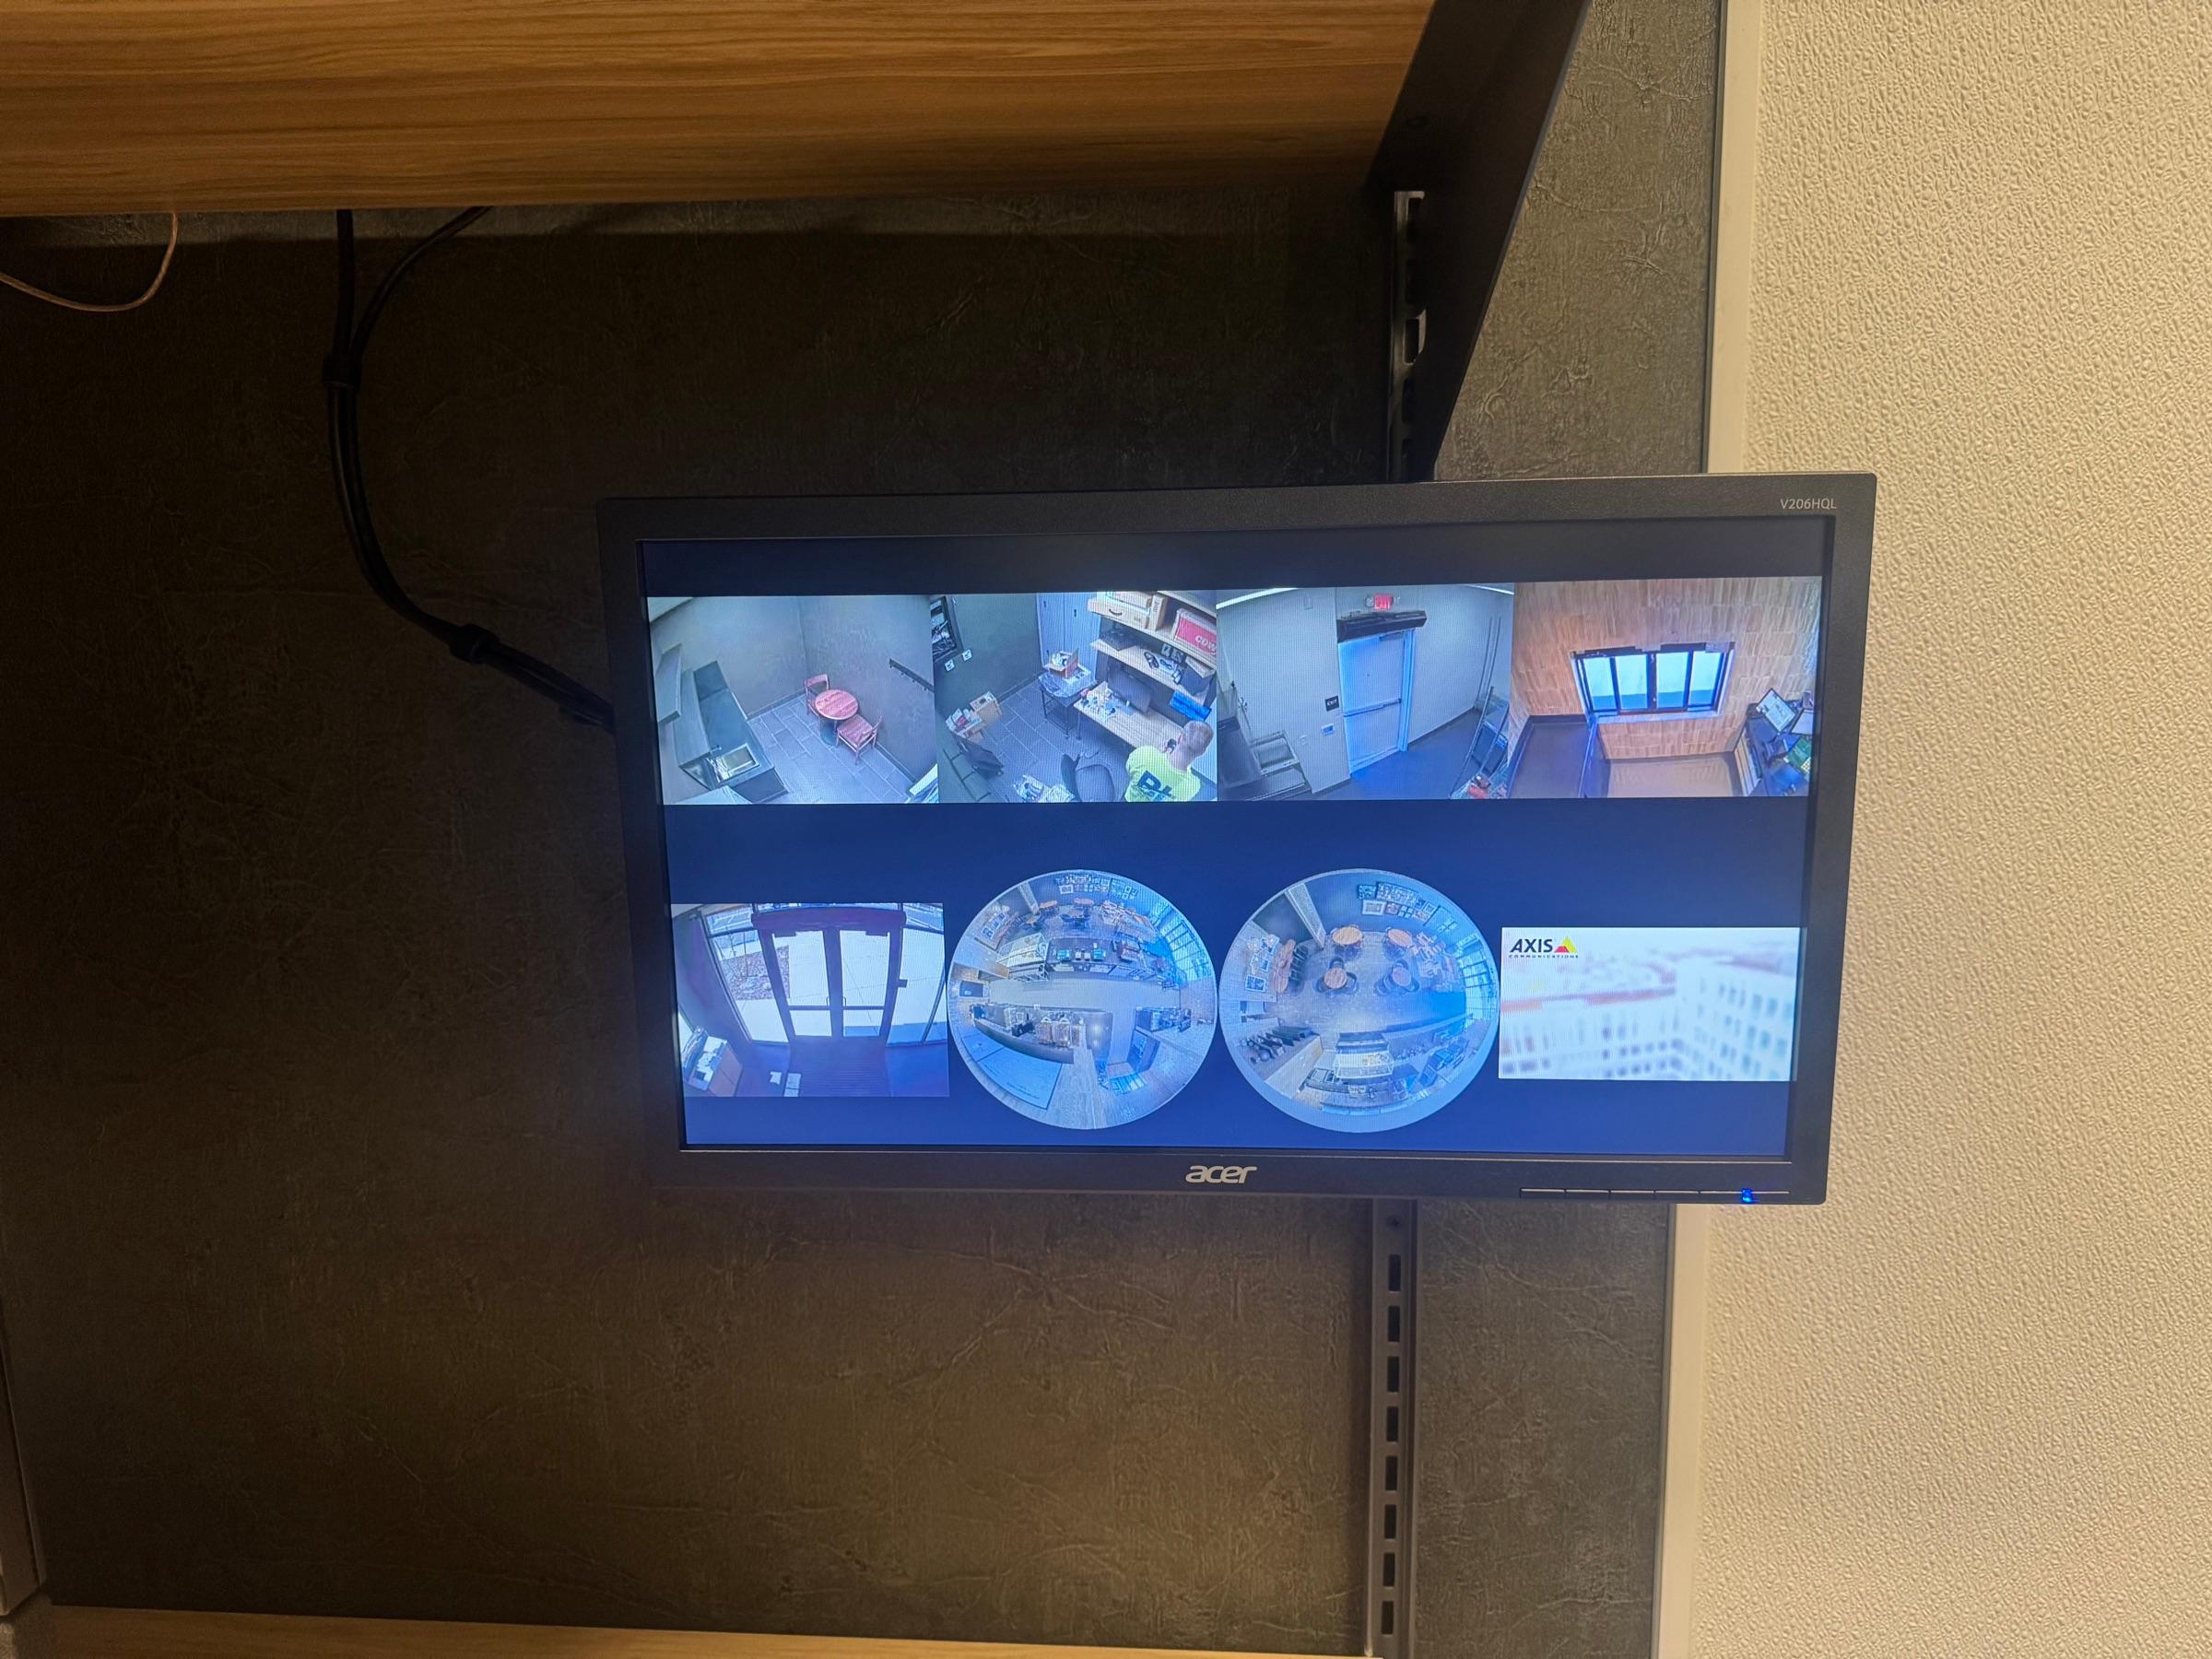
1. Confirm where your cameras actually record
A camera app can show a live picture even if no past video is available in that app. Open playback or recorded events and confirm the correct site, recorder, and camera. An on-site network video recorder (NVR) or digital video recorder (DVR) may have the recording. Other systems send it to a cloud video portal, record to a camera's memory card, or use more than one destination.
In a hybrid system, the cloud might show only selected alerts while the site's recorder has the continuous timeline. If remote playback is unavailable, ask your authorized administrator whether the on-site recorder or camera still has video. Our security system power outage guide explains why recording and remote viewing can fail independently.
2. Find the right camera and time window
Record when the issue was discovered, when the area was last known to be clear, and what location was involved. Use authorized sources such as access-control logs, shift records, or alarm alerts to narrow the window. Start with the relevant camera, then check adjacent entrances, exits, or drive lanes for context.
Say a Fresno warehouse manager finds damage at a loading dock after the morning shift starts. A door event may narrow the search, but it's still worth saving the dock footage and the approach view. Note each camera's label and save enough footage to show what came before and after. There isn't a universal number of minutes to keep.
Compare the time displayed on the recorder with a trusted clock and note the offset, time zone, and date. A recorder that's seven minutes slow will show a 2:00 p.m. local event near 1:53 p.m. on its timeline. Document the offset rather than changing the clock during the review.
3. Export the recording and play back the saved file
Have a designated operator use the export feature in the recorder or video app. Don't assume a bookmark, playable link, or alert thumbnail is a saved copy. The Scientific Working Group on Digital Evidence's recorder guidance explains why the native export, where available, is especially useful for retaining information the system captured.
Choose the cameras and the full incident window, including relevant surrounding activity.
Keep the recorder's native export and any associated verification files. If it requires a player, obtain the compatible player through the manufacturer or your approved support channel.
If your policy allows it, save a separate standard-format viewing copy, such as MP4. Don't edit or replace the original export to make it easier to play.
Open the saved file from its storage location. Check the camera label, beginning, end, timestamp, and the relevant activity. If the export failed, retry the system's supported export or escalate promptly.
A phone recording of the monitor might show the general scene, but it can lose detail and recording information. Don't make it your only copy when the system can produce a usable export.
4. Keep the original secure and document the handoff
Store the unchanged export and any companion files in approved, access-controlled storage. Follow your organization's preservation and backup practices, and use a separate copy for authorized review. Don't upload footage to a personal account or share it in a group chat.
Record the incident reference, camera and recorder names, displayed time range, known clock offset, export date, operator, storage location, and any handoff. NIST's digital evidence preservation guide explains why documenting the source and handling matters. If footage may be needed for a claim, investigation, or legal matter, coordinate with the responsible team, counsel, or authorities before editing, sharing, or deleting it.
5. If footage is missing, check these possibilities first
An empty timeline could mean the video rolled off, but it could also mean you're looking at the wrong recorder or time. Check these possibilities with your authorized operator before deciding the footage is gone.
Don't factory reset the recorder, format a drive, swap storage, or install recovery tools on the recording system while important footage is still being sought. Record the warning or error and escalate to the system provider. Recovery isn't guaranteed and depends on what happened to the underlying data.
| What you see | What to check |
|---|---|
| A live image but no history | Confirm the recording schedule and whether the system records continuously or only on events. |
| Video from the wrong time | Check the date, time zone, clock offset, and whether the app is filtering playback to alerts. |
| A gap across several cameras | Have your technician review recording health, storage warnings, power, and network events for that period. |
| Recent clips but no older video | Check the oldest playable clip, retention settings, and any approved secondary store or previous export. |
Make the next export less of a scramble
Give cameras names your staff can recognize, document where each critical view records, and designate at least two authorized operators. Run a periodic test: find an older clip, save it using the approved workflow, and play the saved export somewhere other than the recording console.
Set retention around when your business discovers incidents, not a generic number of days. A yard that checks inventory weekly needs enough history to cover that gap. A facility with recurring offline cameras may need a look at its structured cabling and network equipment rather than more storage. For commercial facilities in Fresno, Clovis, and the Central Valley, Bezemer plans commercial security camera systems around usable coverage, recording, and access.